
This guide will show you how to enable Hyper-V on your Windows 11 Professional or Enterprise system if you need to run virtual machines.
First, we need to enable the Hyper-V feature in Windows. You can get to the “Turn Windows Features On or Off” dialog by hitting Win + R to open the Run box and typing optionalfeatures.exe.

In the window that appears:
- Scroll down and find the Hyper-V option.
- Click the checkbox to select it. Ensure all sub-components are also selected.
- Click OK.
- Windows will install the necessary files and then prompt you to restart. A reboot is required.
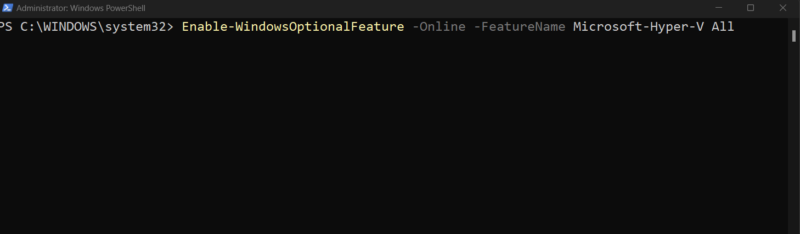
Note: If you want to install via command line, run an administrative PowerShell and use the following command: Enable-WindowsOptionalFeature -Online -FeatureName Microsoft-Hyper-V –All
Once your machine has rebooted, open Hyper-V Manager.
